Make a powerful and lasting first impression with our Raised Spot UV, Raised Foil or Holographic business cards. Include in your design to highlight text, images, design patterns or even photos. The depth of Raised Spot UV and Foil is 50 microns, allowing you to feel them.
Cusom business cards are a reflection of you and your brand. Choose from a variety of dimensions and printing options to create an eye-catching card. It's time to take your brand to the next level with one-of-a-kind Raised Spot UV, Raised Foil or Holographic Foil business cards.
Frequently Asked Questions/File Requirements
Raised Spot UV jobs are set up the same way as Spot UV jobs. When creating a Raised Spot UV job, you must include a Raised Spot UV mask file along with the regular print file.
Please note, the mask file must be vector art created in vector-based programs such as Illustrator.
The Raised Spot UV mask file is used to show where the UV coating needs to be applied.
Please only use solid 100% K (C 0%, M 0%, Y 0%, K 100%) to indicate where you would like the UV. Do not use shadows, glows or grayscale images. White will indicate no UV.
Spot UV is a flat finish of a shiny layer that goes on the exact spot where you would like your printed piece to have an area of a high gloss coating.
Raised Spot UV is the same process, except the UV that gets applied stands out from the product, that if you run your fingers over the card you will feel the UV. The depth of the Raised Spot UV is 50 microns.
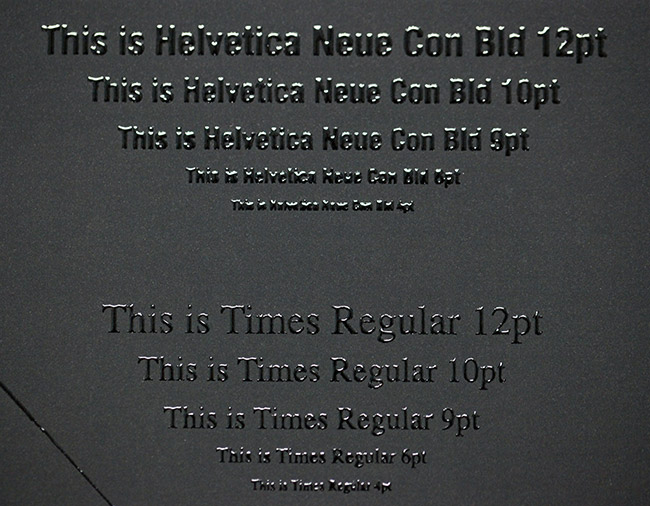
It is recommended that you do not use smaller than 6pt font on the Raised Spot UV Artwork. If, however, you use fonts with thicker strokes, it is recommended that you do not use smaller than 9pt font.
When designing a Raised Spot UV greeting card file, please make sure to leave the mask file at least 0.25" away from the scoring line to avoid varnish breakage and allow for easy folding.
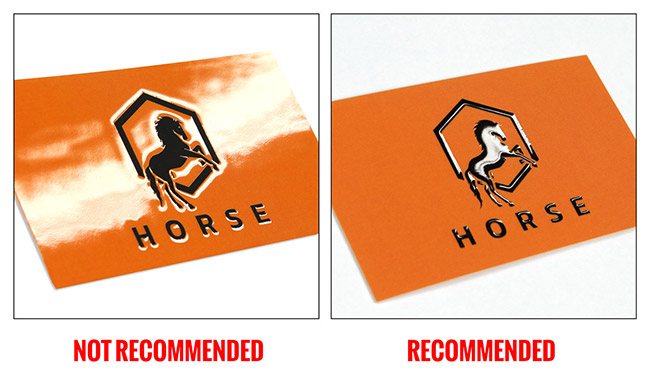
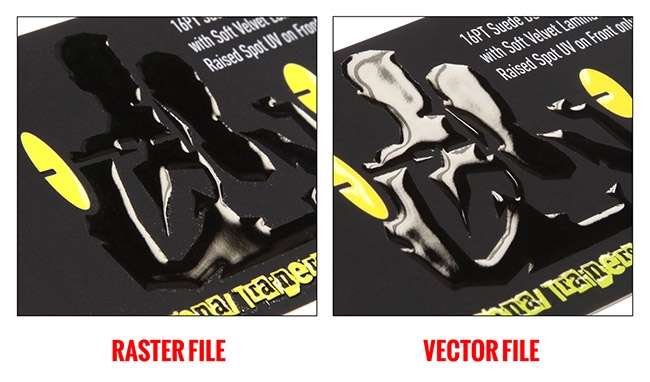
For best results, please make sure that UV coverage is less than 30%. Otherwise, the cards will be stuck together and become a block of cards. Also, The mask file must be a vector art created in a vector-based program such as Illustrator. Otherwise, you won't have sharp edges on the artwork.
Up to 70% coverage is acceptable only with patterns, thin strokes or small shapes. Ideally, the size of the area, shape or image covered with raised foil should not exceed 1in x 1in.
Please see the pictures below for reference.
ACCEPTED FILE TYPE
-PDF (Acrobat 5 (PDF 1.4)
-JPG, JPEG, TIF, TIFF
**One single file per side (no pdf bundle please).
BLEED
-At least 1/16" bleed around the perimeter of your artwork to ensure accurate cutting.
CMYK COLOR
-All files converted to CMYK color mode. No RGB or Pantone files.
OUTLINE TEXT
-Avoid potential problems with fonts by creating outlines for all text.
FINISHING OPTIONS
-One mask file for each option
-Clearly indicate the option and the side on which you want it to be applied in the file name.
SPOT UV
When creating a job with spot uv, you must include a spot uv mask file along with the regular print file. The spot uv template file is used to show where the UV will be placed. Use 100% K to indicate where you would like the UV. White will indicate no UV.
To set up your file for foil printing with spot uv:
In addition to the second layer added for the foil printing process, your file should have a third layer for the spot uv. Below are the additional guidelines for preparing your files for foil printing with spot uv.
On your third layer, create a mask file for the elements in your design where you would want to spot uv.
Use 100% K or black to elements for spot uv, and 0% K where spot uv is not applied.
Leave a 1/16" gap in between foil and spot uv elements. They cannot overlap.
Minimum font size is 8 pts.
Minimum strokes or borders should be 1.5 pts. thick.
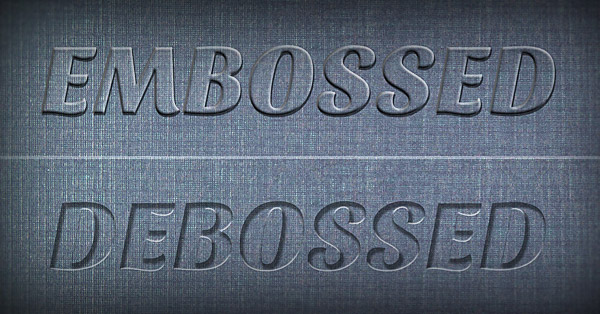
DEBOSSING / EMBOSSING
When creating a job with embossing or debossing, you must include a mask file along with the regular print file. The mask template file is used to show where the embossing will be applied. Use 100% K to indicate where you would like the embossing.
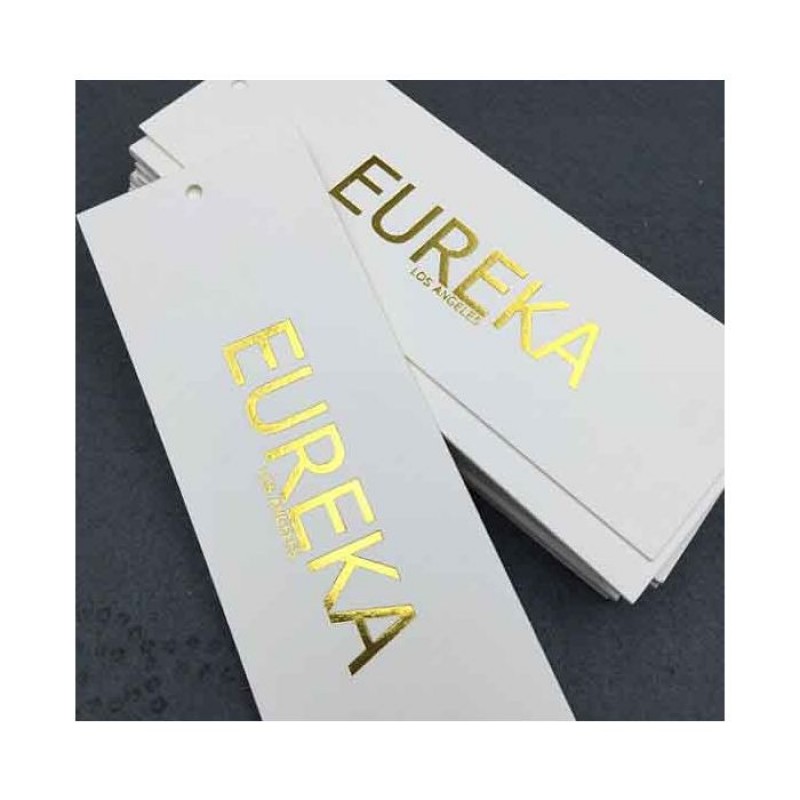
FOIL STAMPING
When creating a job with foil stamping, you must include a mask file along with the regular print file. The mask template file is used to show where the foil will be applied. Use 100% K to indicate where you would like the foil. Make sure to remove everything that will be foiled from the print file and have those items only on the mask file.
To set up your file for foil printing, follow these important steps:
Your file should contain two layers.
One layer contains your artwork
Another layer to show where the foil will be applied
If applying foil to text, use a font size of 8 pts. or larger.
Strokes or borders must be more than 1.5 pts. thick.
Limit foil coverage to 50% of the surface area.
| Final Dimensions | Description | Download |
|---|---|---|
| 2" x 3.5" | Back | |
| 2" x 3.5" | Front |